I recently began a series of print ads highlighting different features and history of the digEplayer. I think the behind the scenes is just as much if not more fun than the end result.
So I’m opening the curtains to allow you to peer into the creative process.
Forming an idea
The first thing that you need to know was that I only had about five days before the ad was due. So everything needed to go as planned. From some market research about digEcor, I found that being the pioneers of the industry was a good, marketable strength.
The ad needed to show in a fun, original way that we started the industry. That we have been here for awhile and will continue to be a market leader. Showing an aborigine holding our device in a nature setting seemed to be an effective way to show/talk about our origins.
With an idea in mind, I set about making preparations for the photo shoot.
Building a torch
When possible, I like to be prepared. And since this ad involved using fire, I really wanted to make sure that we would achieve the desired effect.
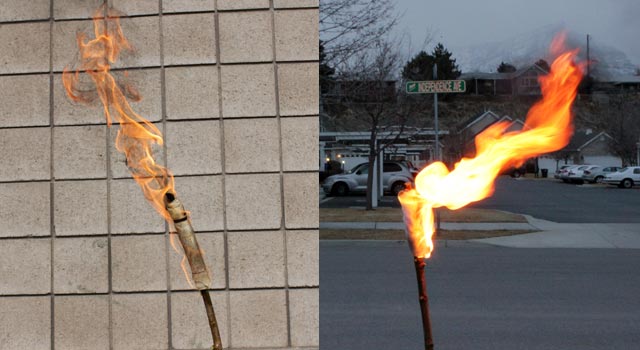
For that reason, I built several torches and tested them for flame size and burn time. I used an article about building torches on Instructables.com as my guide.
The picture on the left was taken outside of digEcor during the day. And the one on the right was taken later that evening in my neighborhood. I had several neighbors stop their cars and ask what I was doing.
Staging the photo
I knew that I wanted to use a forested park near my home as the location for the shoot. With the weather being very unpredictable, I wasn’t sure what I would get.
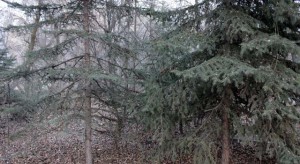 I therefore went to find a location and stage the photo during both dusk and dawn to find the best lighting.
The photo to the left was taken at about 7PM. I liked the pine trees but ultimately decided they didn’t provide the right imagery that I wanted.
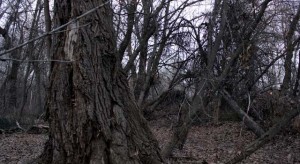 This second photo was taken the next morning at 7AM. When I found this large, ancient tree, I knew I had found my spot.
The next step was to stage my photo. Or in other words, figure out where the model would stand and how the player would be positioned.
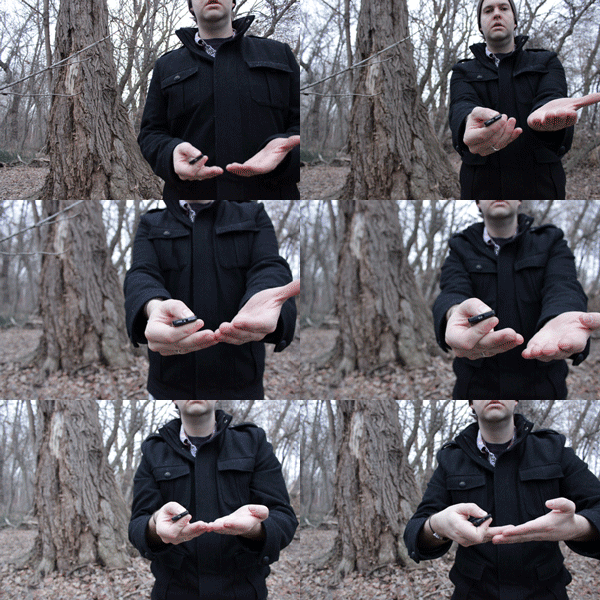 What you are seeing to the left is me bouncing around trying different positions. You can see the camera remote in my hands.
(This is also a rare moment. I haven’t been clean shaven in awhile.)
With the location and positioning determined, I was ready to shoot.
Early morning photo shoot
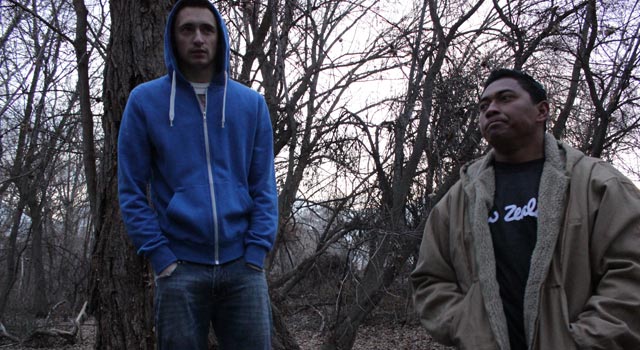
First, let me give mad props to our model. The temperature was below freezing and he had to stand still without shivering with his shirt off. Half way through the shoot, we let him put his coat back on to warm up (pictured below).
A little trickery in Photoshop
Having sifted through over the 350 pictures that I took that morning, I selected the one that best represented the look I wanted to achieve. But of course, a little Photoshop-ing was still required. The image below shows the before and after.
I was very happy with the end result.
You can see the full ad telling more of the story in the next issue of PAX International, available at the Aircraft Interiors Expo in Hamburg, and the next issue of the Airline Passenger Experience magazine from APEX.

